


- Use the Right Flour – All-purpose flour works well for homemade pasta, but if you want an even silkier texture, you can use “00” flour. Semolina flour is another great option if you prefer a bit more bite.
- Make a Strong Dough – The dough will feel dry at first, but resist the temptation to add too much water. Kneading will naturally develop the gluten, creating that smooth, elastic texture.
- Rest the Dough – Letting the dough rest for at least 30 minutes before rolling it out is crucial. This allows the gluten to relax, making it easier to roll and less likely to snap back into shape.
- Keep Everything Lightly Floured – Whether rolling out sheets or cutting noodles, always dust the dough and your work surface with flour to prevent sticking.
- Cut Evenly – If you’re using a pasta cutter attachment, guide the dough through steadily for even strands. If cutting by hand, roll the dough into a loose log and slice evenly for uniform pasta.
- Cook it Quickly – Fresh pasta cooks in just 1-2 minutes, so keep an eye on it. It should be tender but still have a little bite to it.
Common Mistakes to Avoid
- Overworking or Underworking the Dough – Knead the dough for at least 8-10 minutes to develop structure, but don’t over-knead to the point where it becomes too tough.
- Adding Too Much Liquid Too Soon – If your dough seems dry, add water sparingly, just a teaspoon at a time. You can always add more, but you can’t take it out!
- Skipping the Rest Time – If you don’t let the dough rest, it will be difficult to roll out and may tear or shrink back. Give it at least 30 minutes to relax.
- Rolling the Dough Too Thick or Too Thin – If the dough is too thick, the pasta will be chewy and dense. If it’s too thin, it might fall apart when cooked. Aim for a thickness similar to store-bought fresh pasta.
- Not Using Enough Flour When Rolling or Cutting – Dough that sticks to the roller or clumps together after cutting can be frustrating. Lightly flour your dough and pasta sheets as you work to prevent this.
- Overcooking the Pasta – Fresh pasta cooks much faster than dried pasta, usually in just 1-2 minutes. Overcooking can make it mushy, so test for doneness quickly.
If you don’t have a KitchenAid or a pasta maker, don’t worry—you can still make homemade pasta completely by hand. It takes a little extra effort, but the results are just as delicious. Here’s how to do it:
Rolling Out the Dough
- Divide and Flatten – After your dough has rested, divide it into four equal portions. This makes it easier to roll out. Keep the pieces you’re not working with covered under a kitchen towel to prevent them from drying out.
- Flour Your Surface – Lightly dust your work surface and rolling pin with flour to keep the dough from sticking.
- Start Rolling – Use a rolling pin to press down and stretch the dough from the center outward, rotating it occasionally to maintain an even shape.
- Keep Rolling Until Thin – Continue rolling until the dough is about 1/16-inch thick. If you hold it up to the light, you should be able to see your hand through it.
Cutting the Pasta by Hand
Once your pasta dough is rolled out, you can cut it into different shapes depending on what you’re making.
- For Tagliatelle, Fettuccine, or Pappardelle: Lightly dust the rolled-out dough with flour and loosely fold it into thirds like a letter. Use a sharp knife to slice the dough into even strips.
- For Pappardelle: Cut into wide strips, about ¾ to 1 inch wide.
- For Fettuccine or Tagliatelle: Cut into thinner strips, about ¼ inch wide for fettuccine or slightly wider for tagliatelle.
- For Lasagna Sheets: Simply cut the dough into large rectangular sheets to fit your baking dish.
- For Ravioli: Place small scoops of filling onto one rolled-out sheet, leaving space between each. Lay another sheet over the top, press around the filling to seal, and cut into squares using a knife or pasta cutter.
Once your pasta is cut, toss it lightly in flour and let it rest on a floured baking sheet while you roll and cut the rest.
Cooking Handmade Pasta
Hand-rolled pasta cooks just like machine-cut pasta, but it may take slightly longer depending on the thickness. Boil it in salted water for 2-3 minutes, testing for doneness. Serve with your favorite sauce and enjoy the satisfaction of homemade pasta made entirely by hand!
1. Prepare the Dough
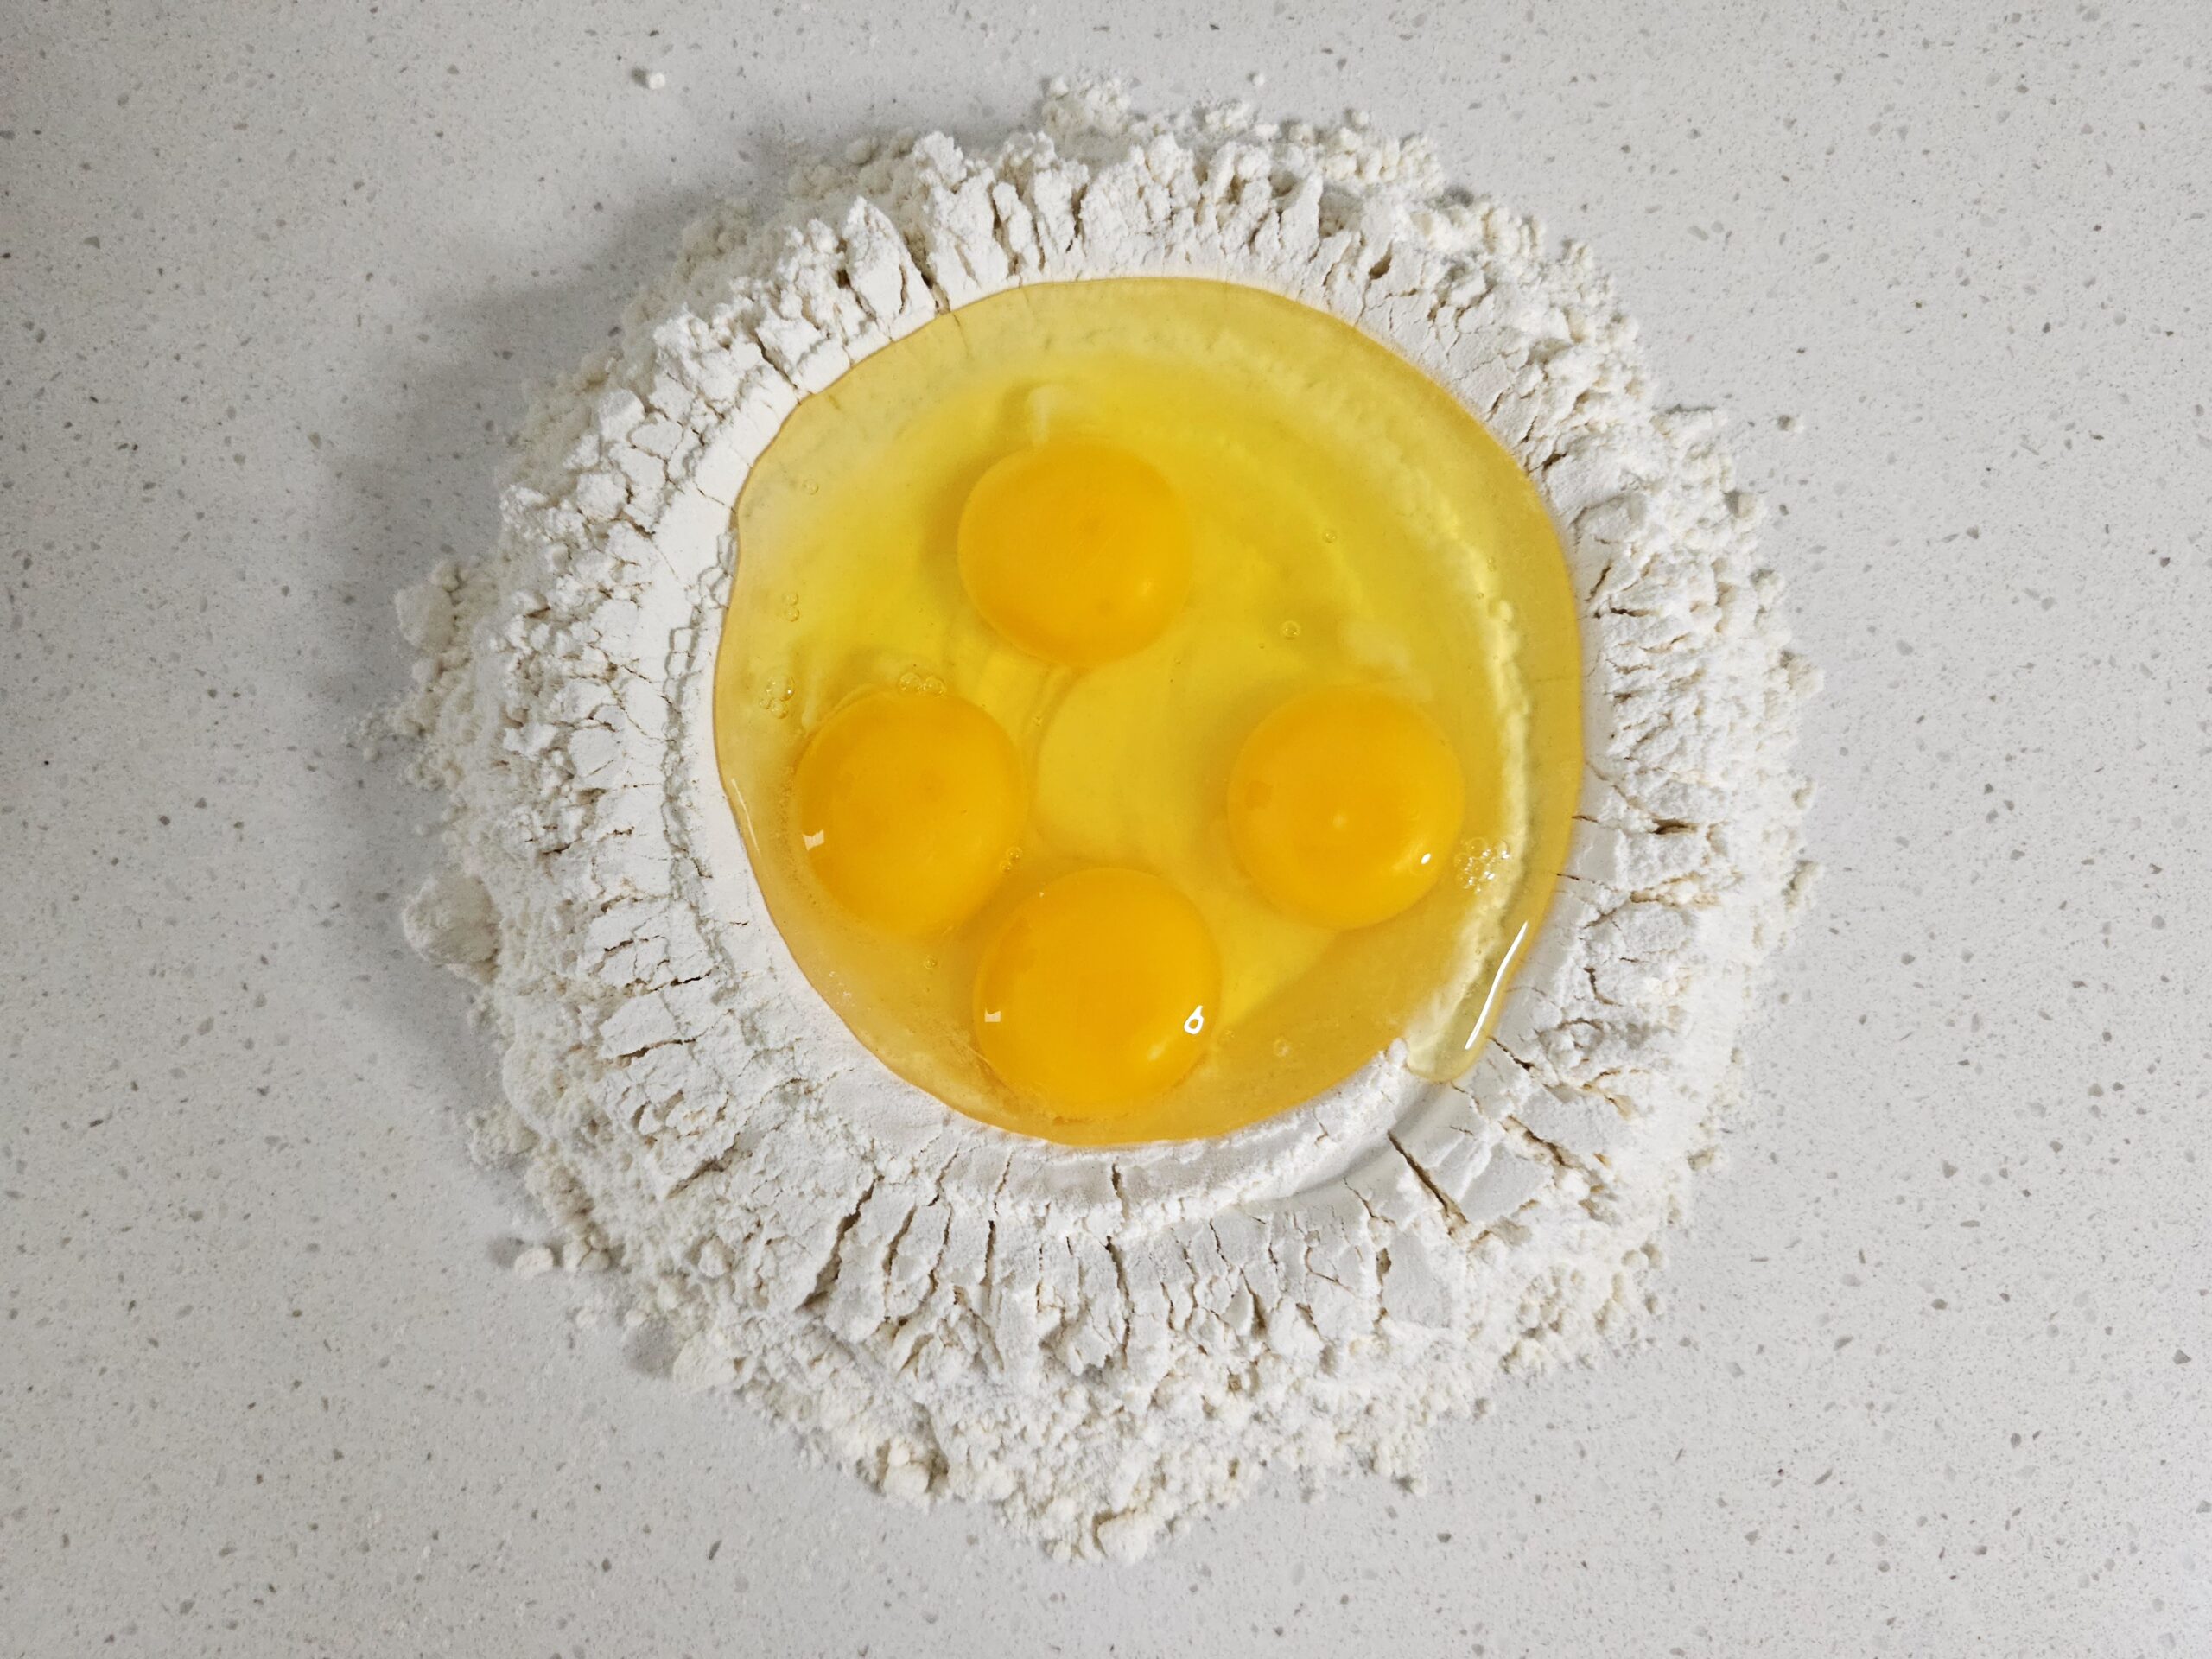
On a clean work surface or large mixing bowl, combine the flour and salt, then make a well in the center. Add the eggs and olive oil into the well. Using a fork, gently beat the eggs, slowly pulling in flour from the edges while keeping the walls of the well intact as best as possible.
Once the mixture starts becoming too thick to whisk, use your hands or a bench scraper to begin bringing the dough together into a shaggy mass.
2. Knead the Dough
Knead the dough by hand for 8-10 minutes until it is smooth and elastic. It will start off dry, but as you continue kneading, it will become more cohesive. If the dough is too dry and crumbly, add water a teaspoon at a time until it comes together. If it feels sticky, lightly dust your work surface with flour and knead until it firms up.
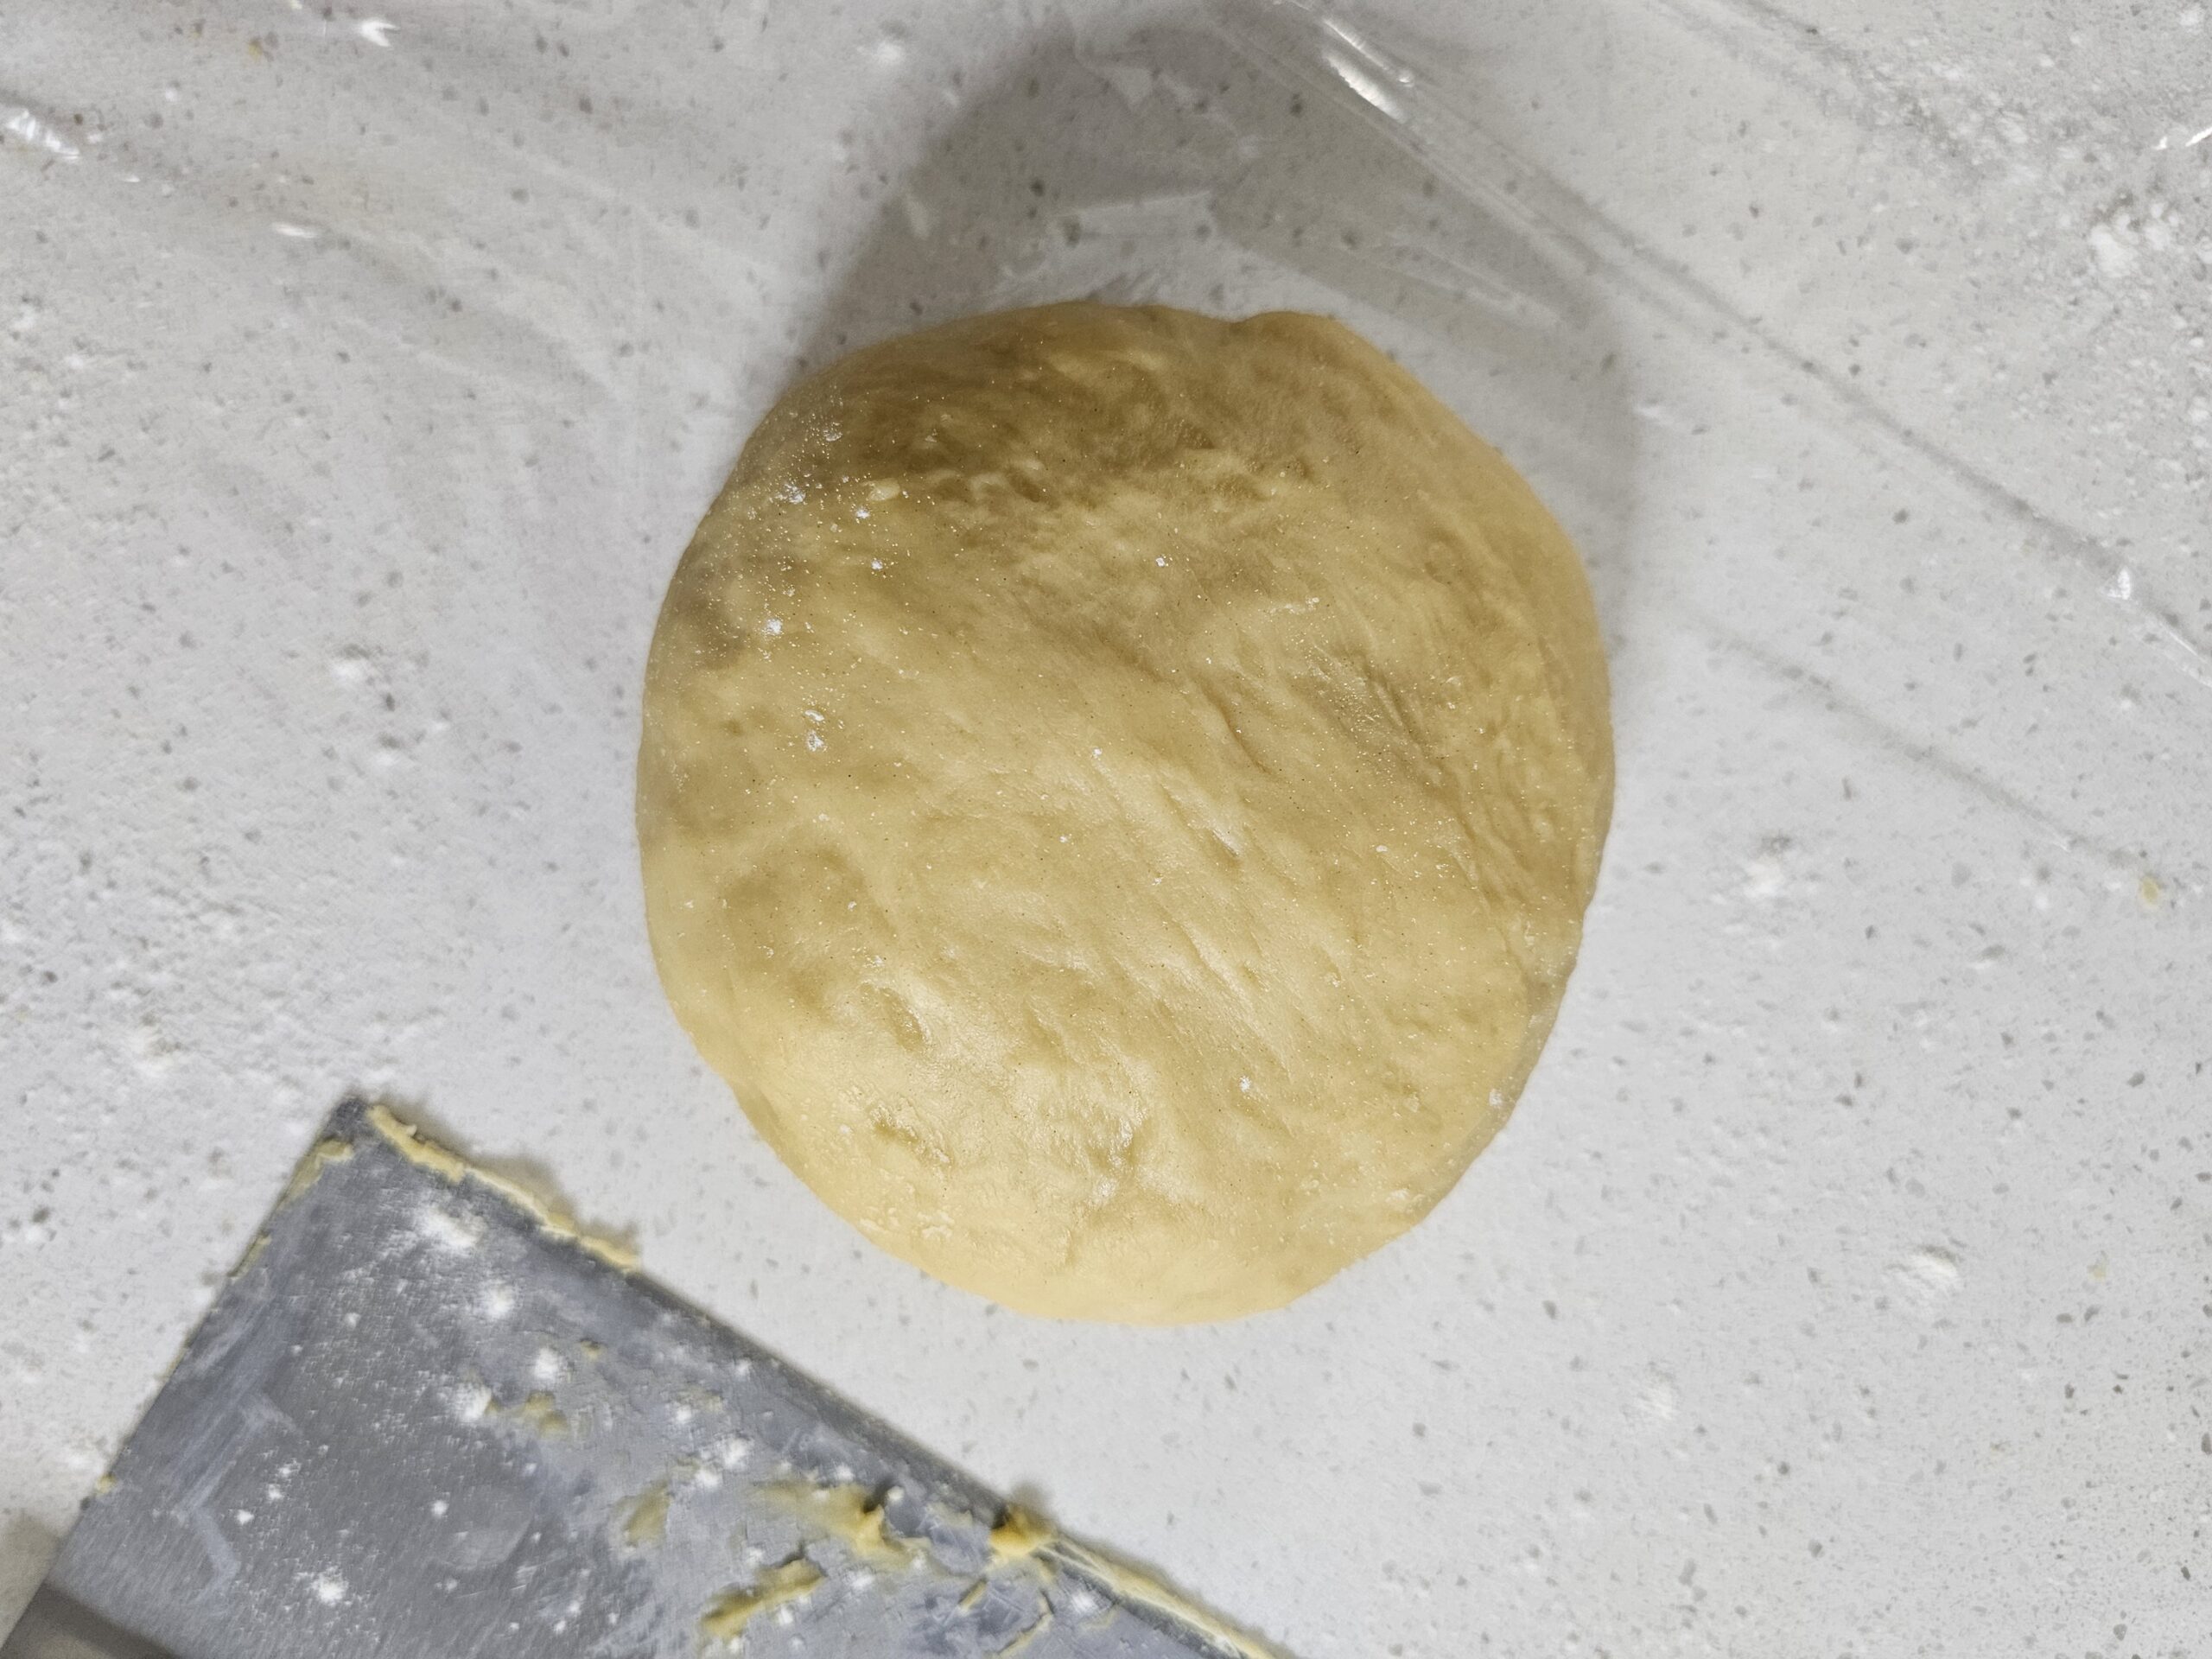
Shape the dough into a ball, wrap it tightly in plastic wrap, and let it rest at room temperature for 30 minutes to 1 hour. This allows the gluten to relax and hydrate properly, making rolling much easier.
3. Divide and Flatten the Dough
Dust two large baking sheets with flour and set them aside for the finished pasta. Cut the rested dough into four equal pieces, keeping the pieces you’re not working with covered under a kitchen towel to prevent drying.
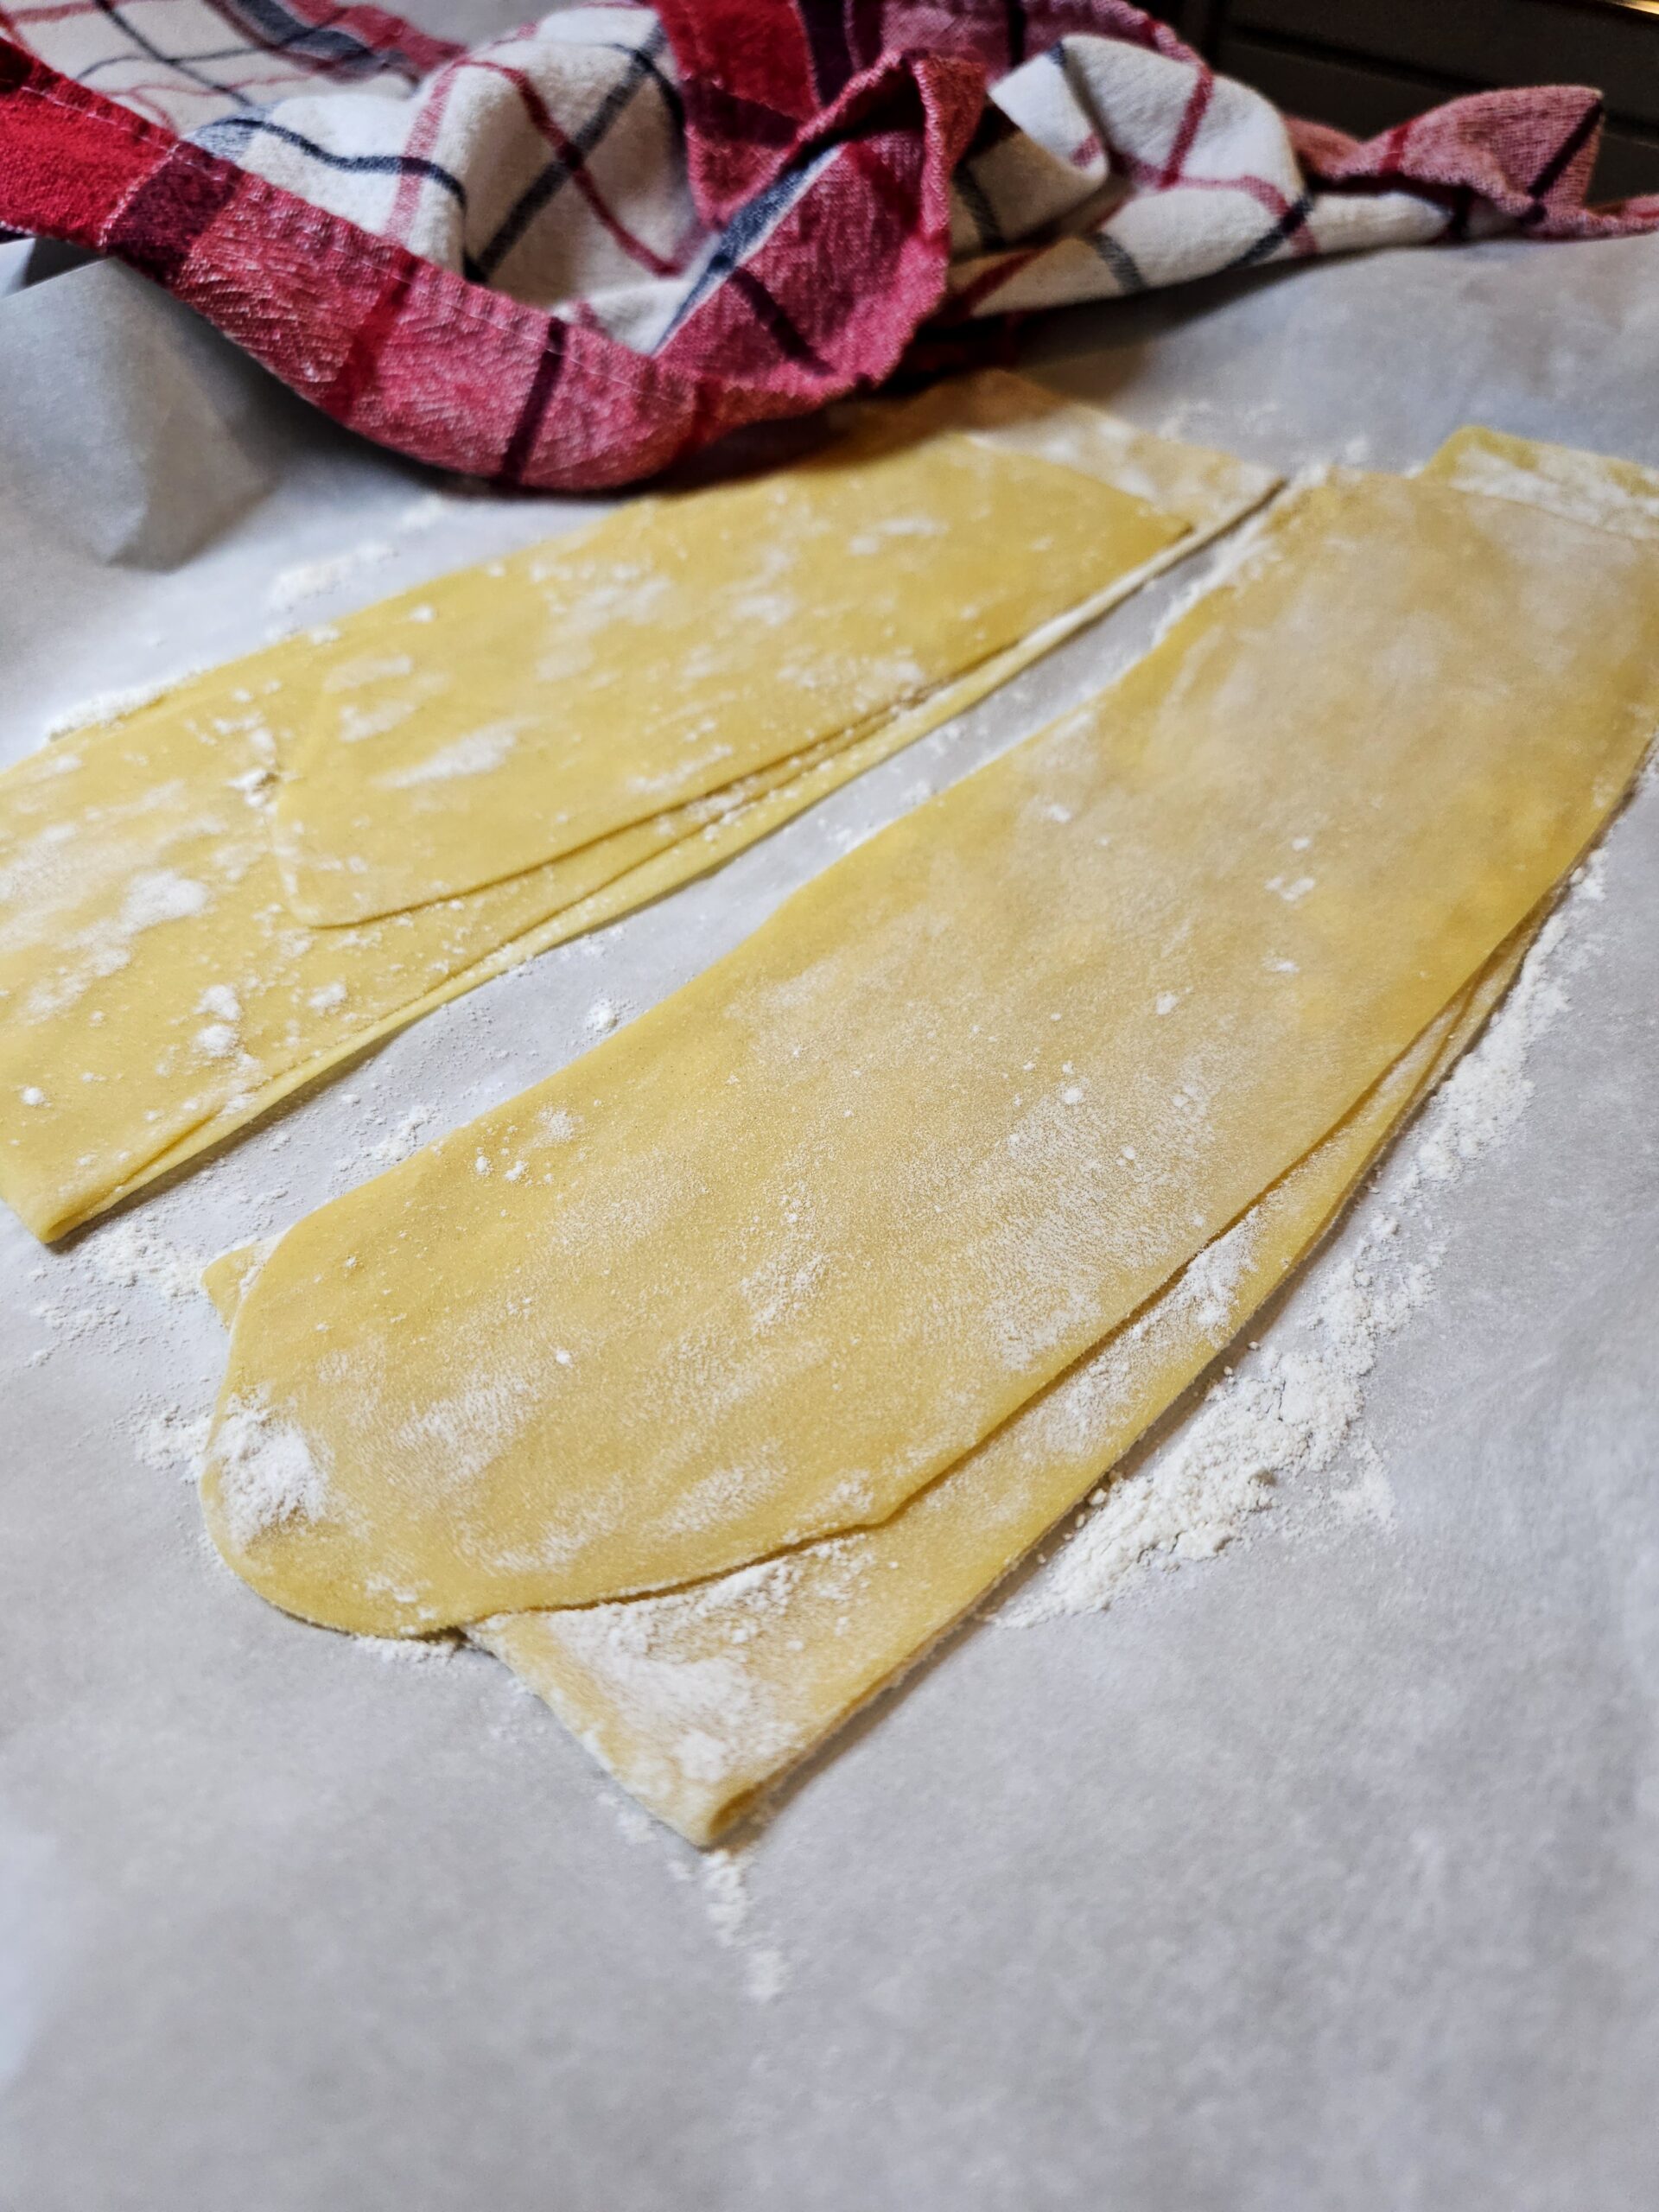
Flatten one piece into an oval shape—this helps guide the pasta smoothly through the roller attachment.
4. Roll the Dough with the Pasta Roller Attachment
Attach the KitchenAid Pasta Roller Attachment to your stand mixer and set it to the widest setting (Level 1).
- First Pass: Run the dough through the roller three times at Level 1, folding it into thirds each time and lightly dusting with flour if it feels sticky.
- Gradually Thin the Dough: Continue rolling, adjusting the settings as follows:
- Level 2: Run the dough through 3 times.
- Level 3: Run the dough through 3 times.
- Level 4: Run the dough through 2 times.
- Level 5 and Level 6: Run the dough through once per level.
At this point, your pasta sheet should be thin but sturdy. If making filled pasta like ravioli, you may want to stop at Level 5, but for fettuccine or tagliatelle, Level 6 works best.
Lay the pasta sheet flat on a lightly floured baking sheet, folding it gently to fit. Dust with flour before folding to prevent sticking. Cover with a kitchen towel while you roll the remaining dough.
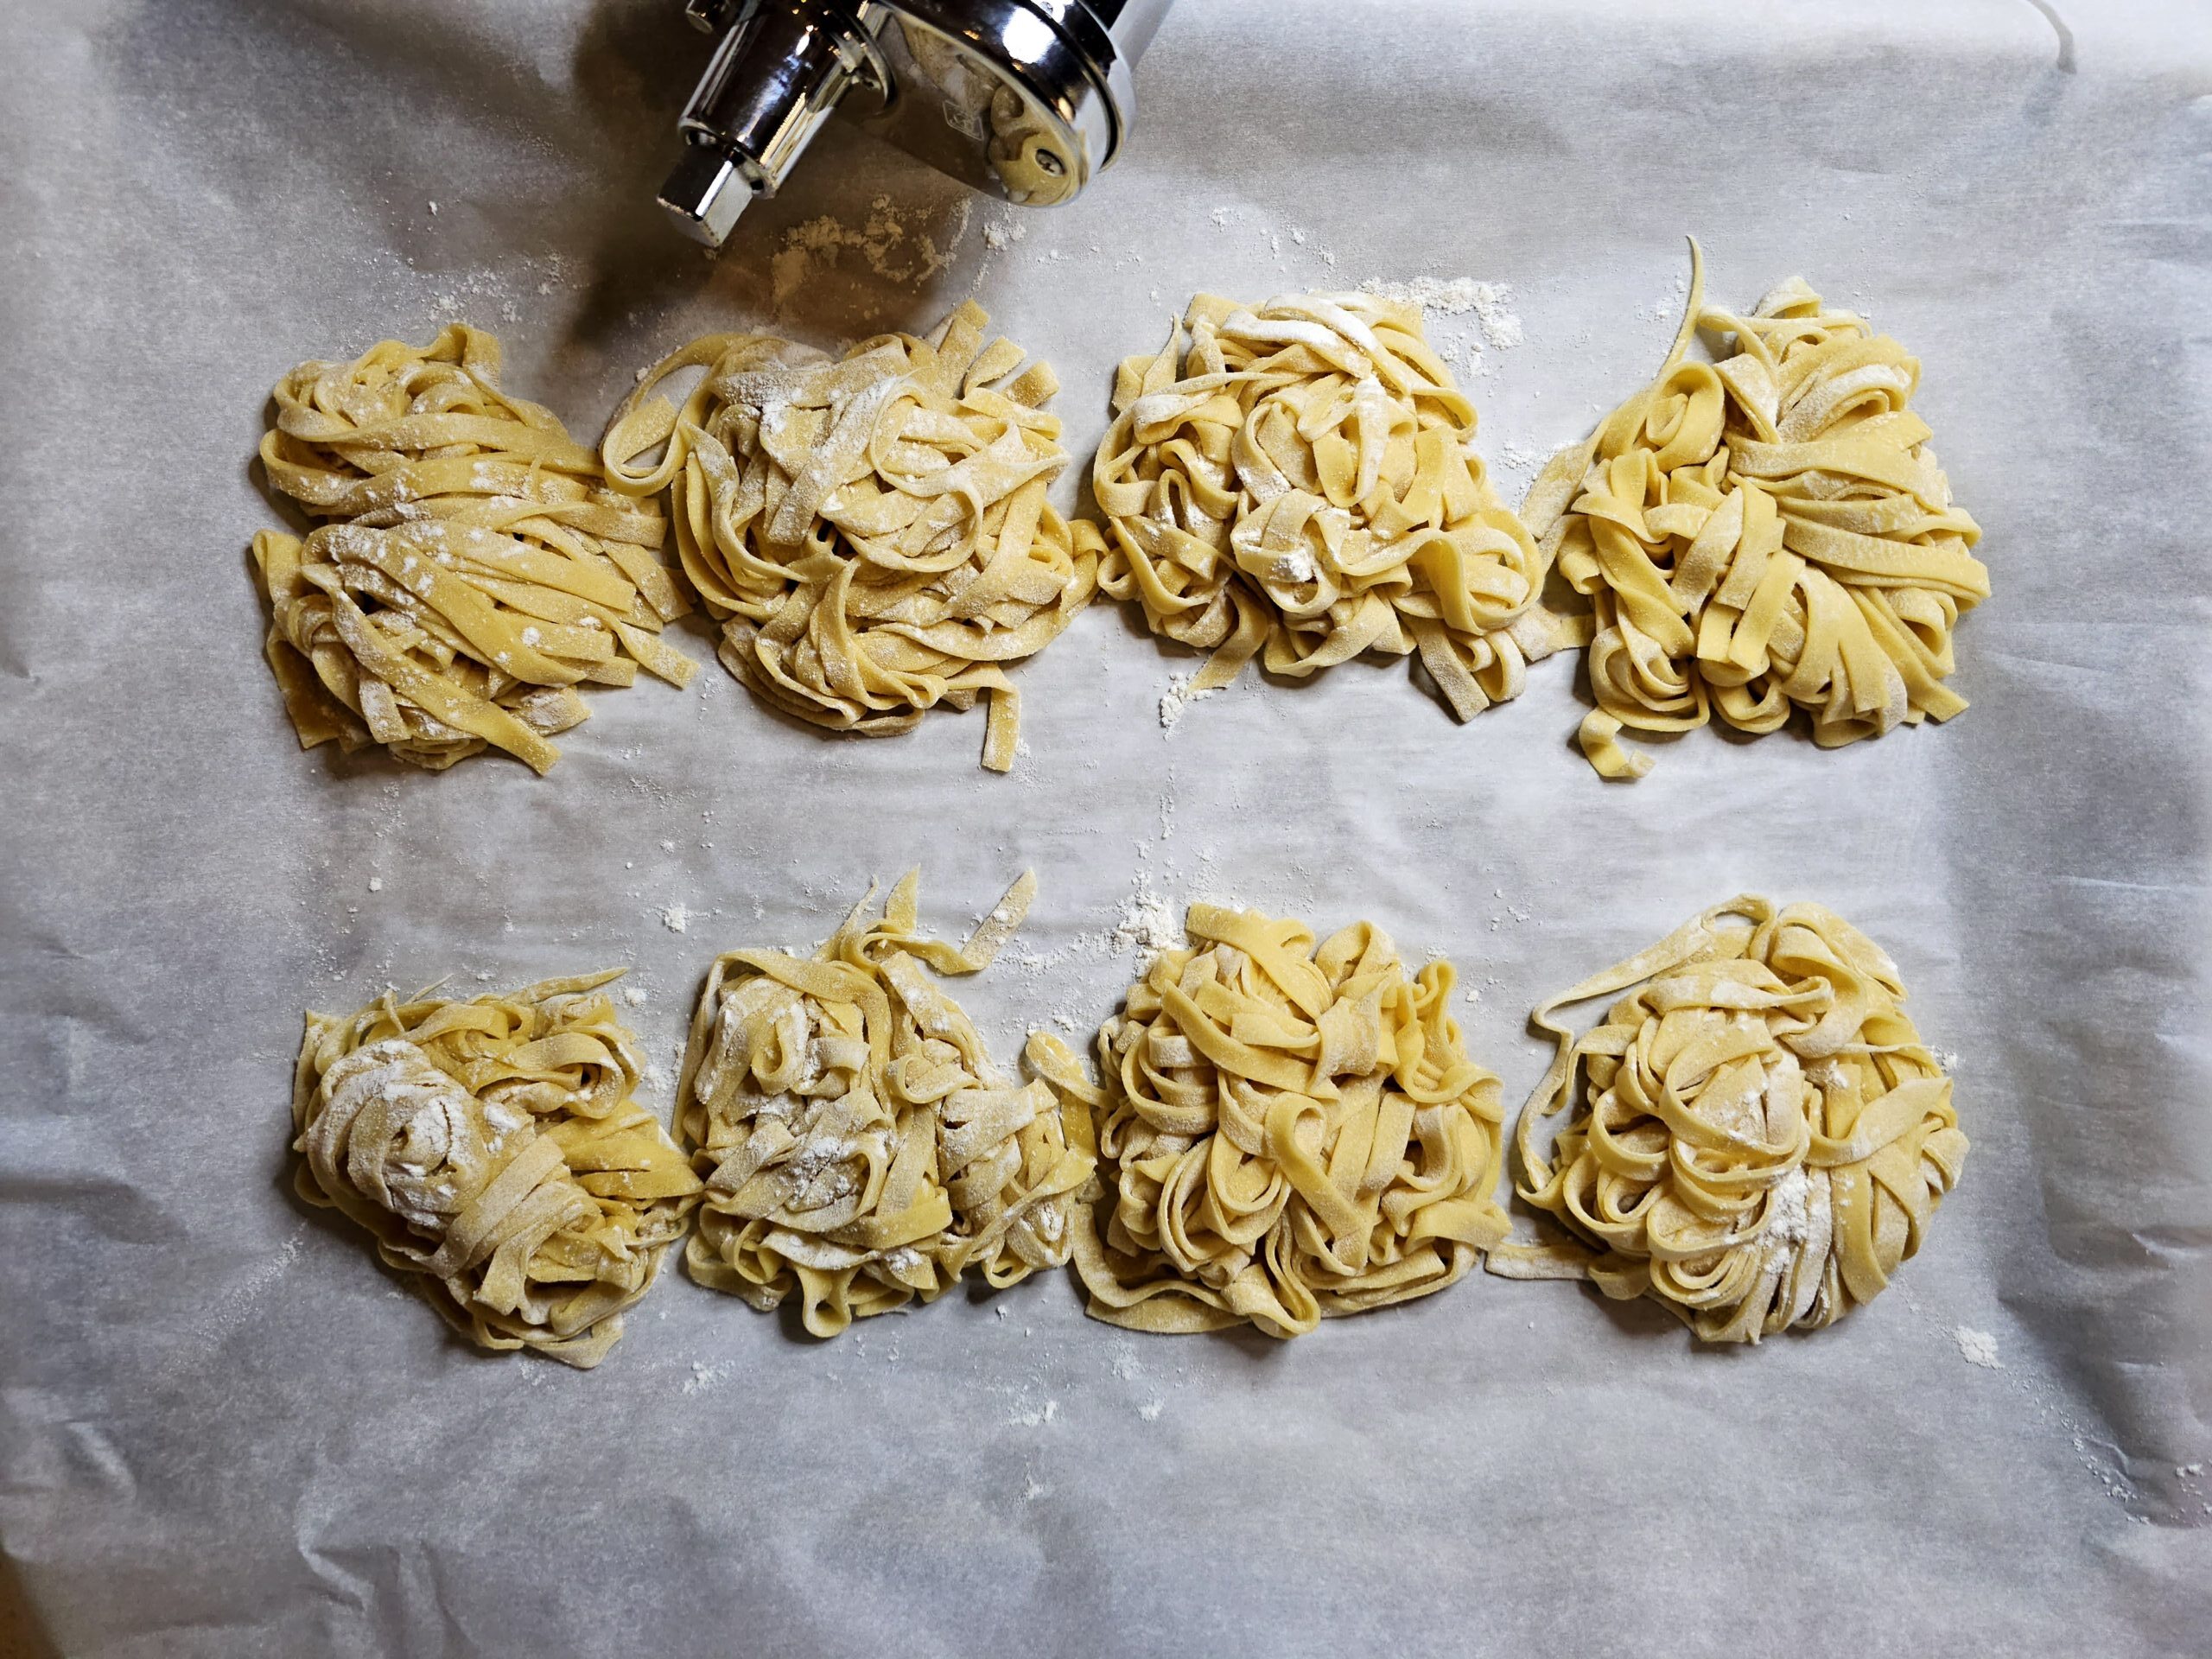
5. Cut the Pasta into Noodles
Once all sheets are rolled out, switch to the Pasta Cutter Attachment of your choice (fettuccine, spaghetti, etc.).
- If the sheets are too long, cut them in half before feeding them through the cutter.
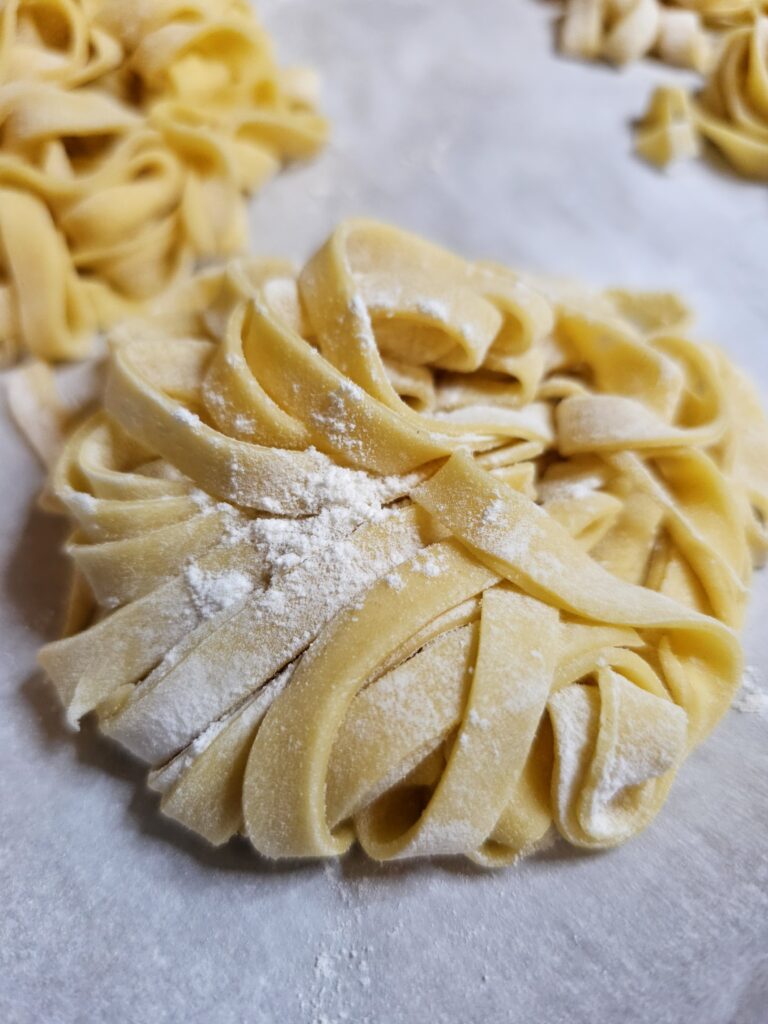
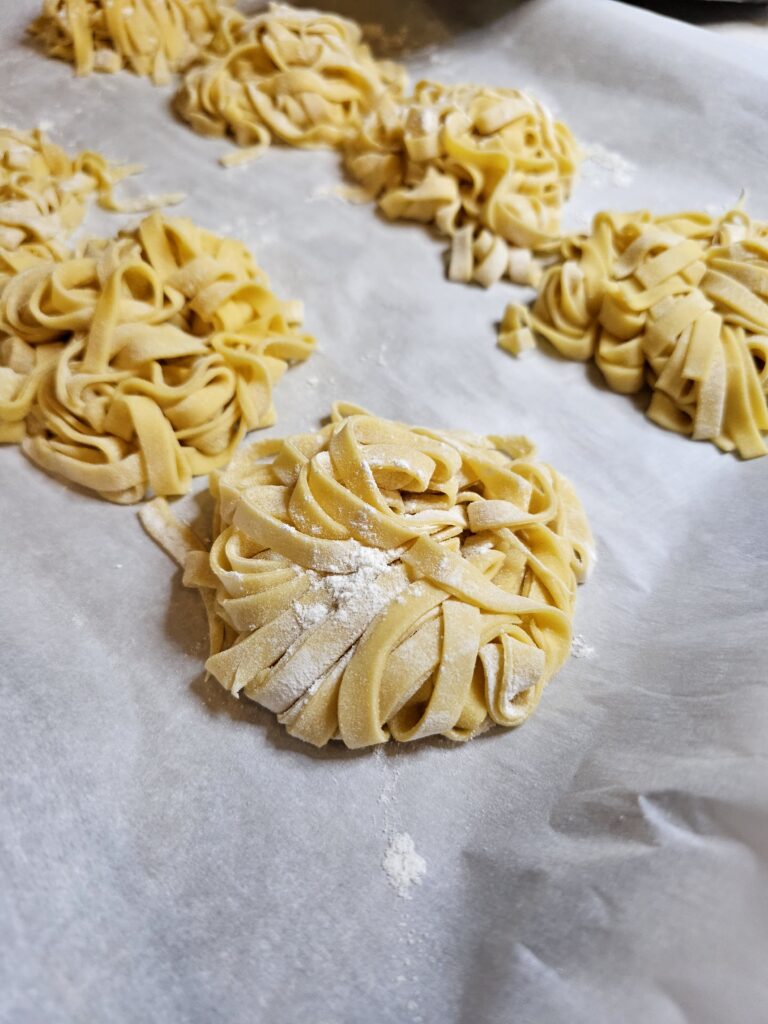
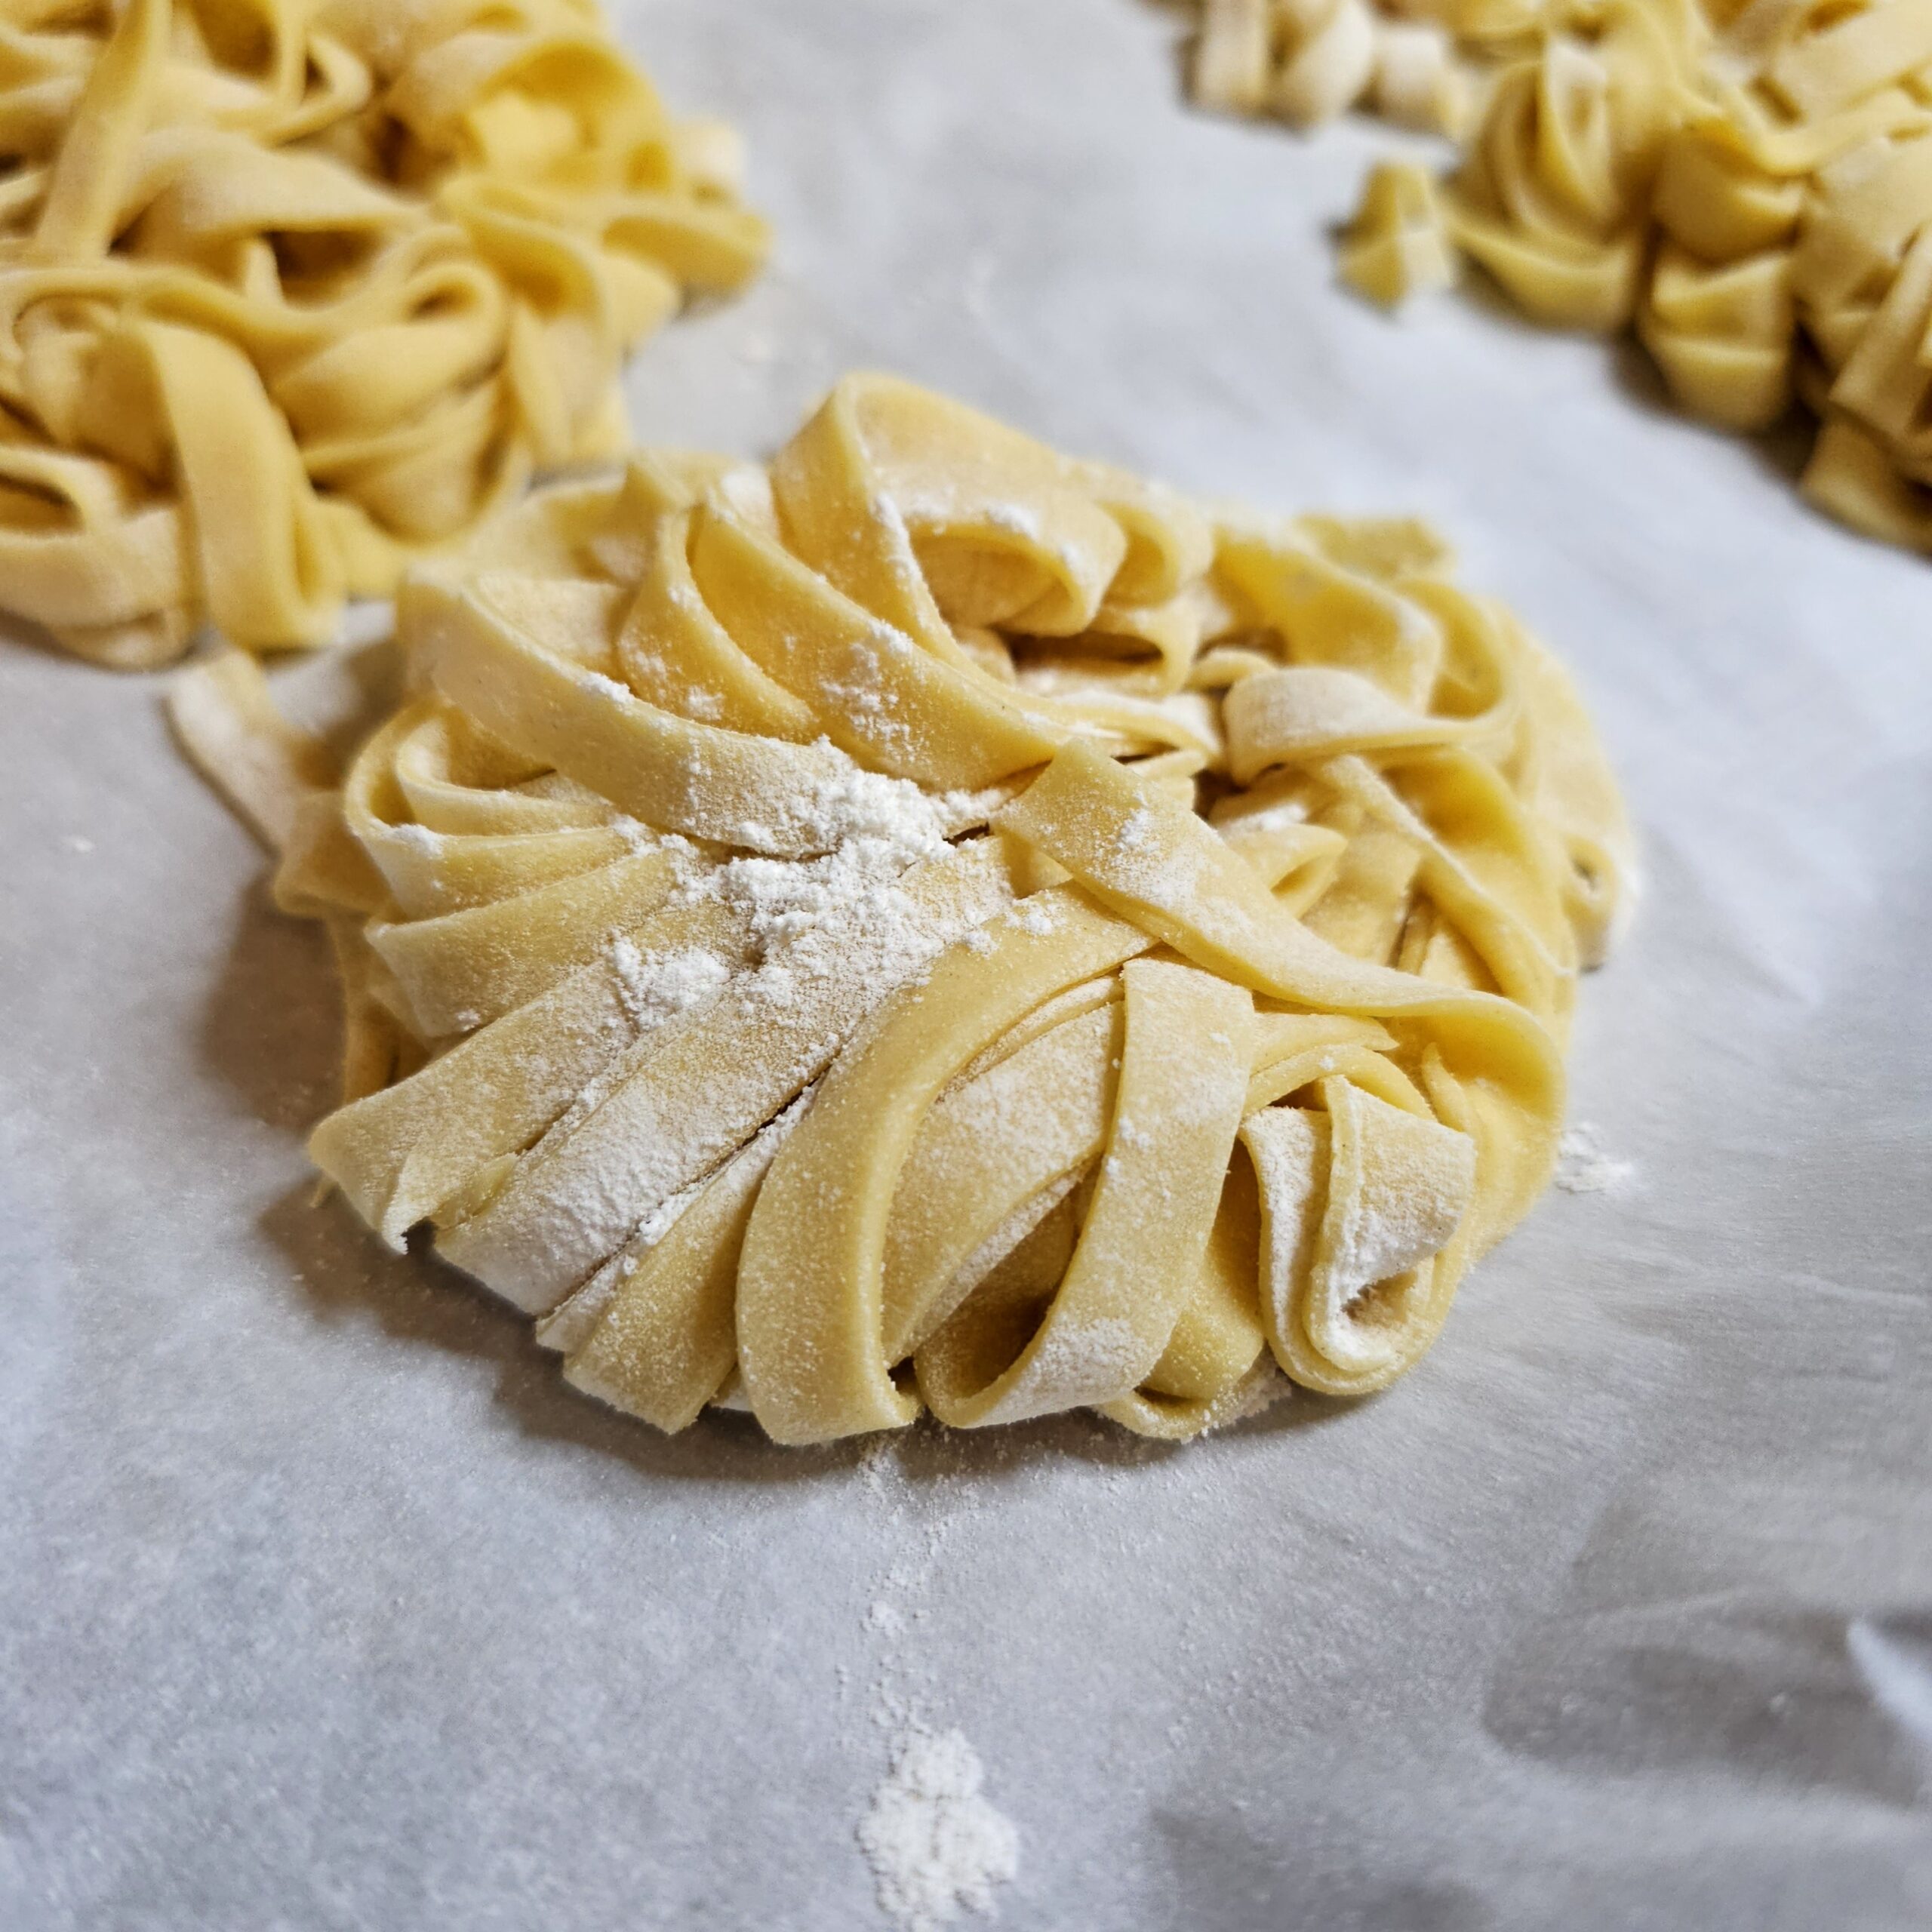
- As the pasta is cut, catch it gently in your hands and move them in a circular motion to create a loose pasta “nest.”
- Lightly sprinkle the pasta nests with flour and place them on the floured baking sheet.
6. Cook the Fresh Pasta
Bring a large pot of salted water to a rolling boil. Fresh pasta cooks much faster than dried pasta, so watch closely:
- 1 to 2 minutes for tender but firm pasta.
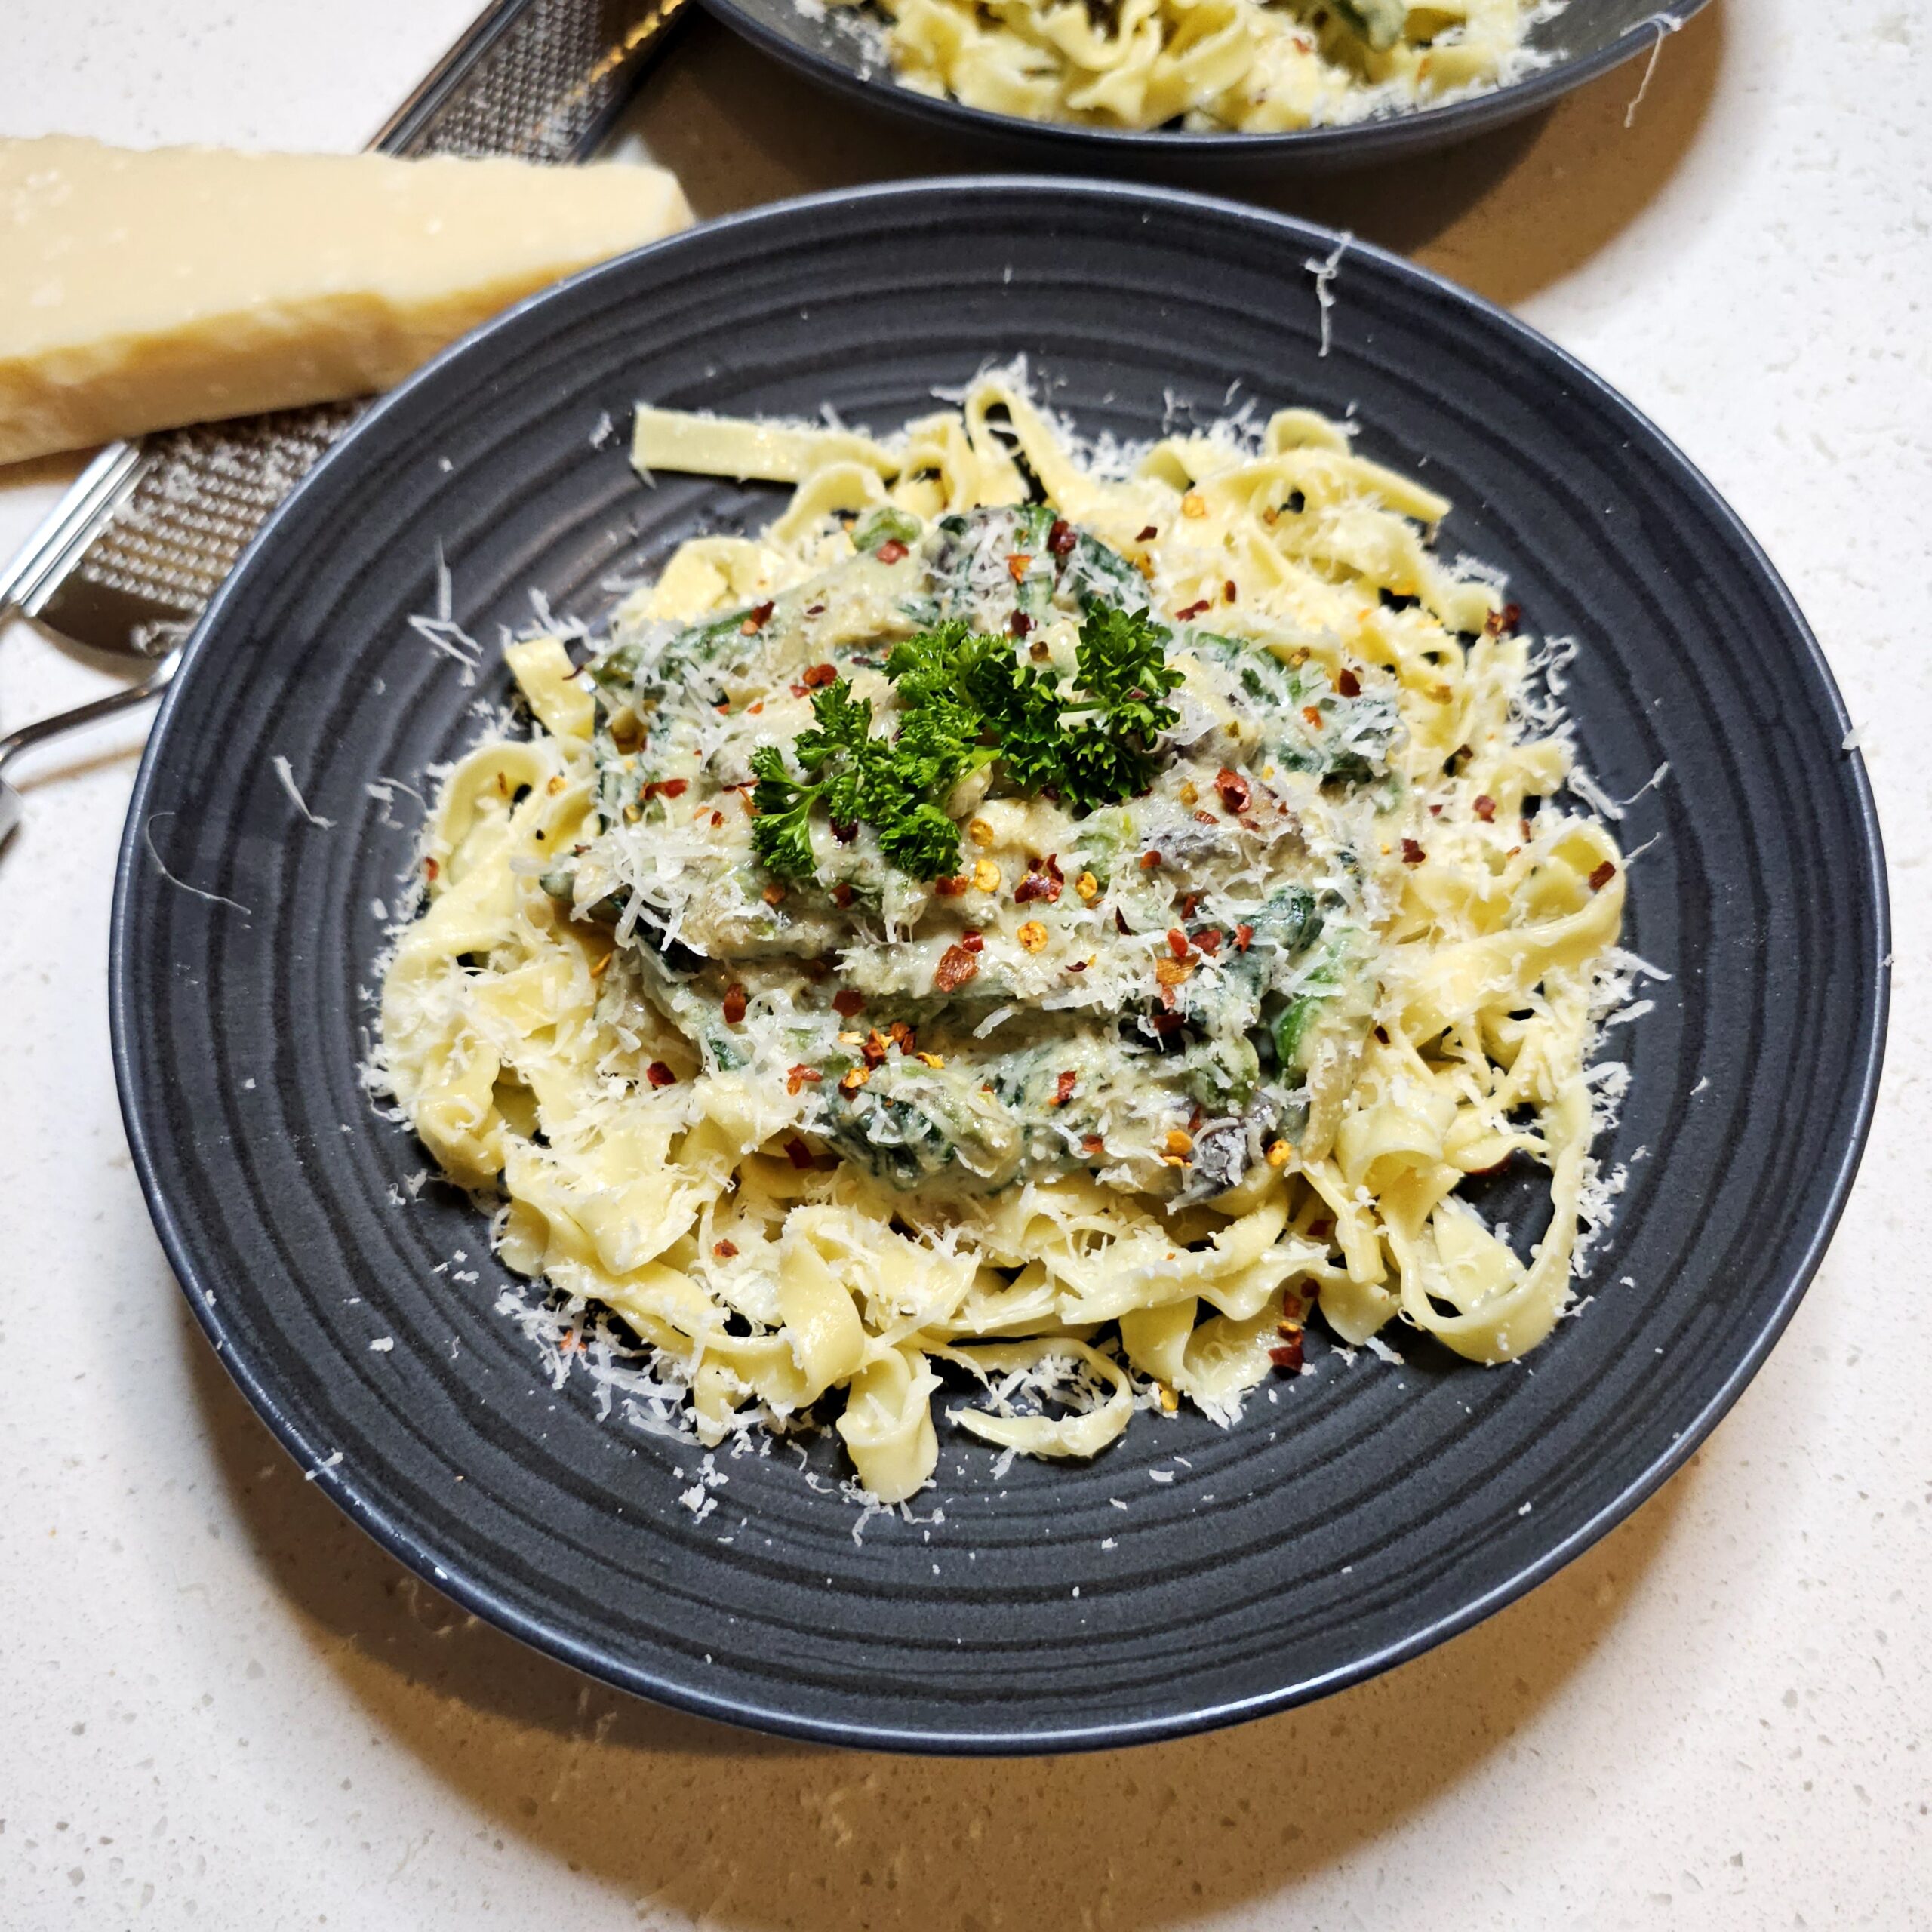
- Drain immediately and toss with your favorite sauce.


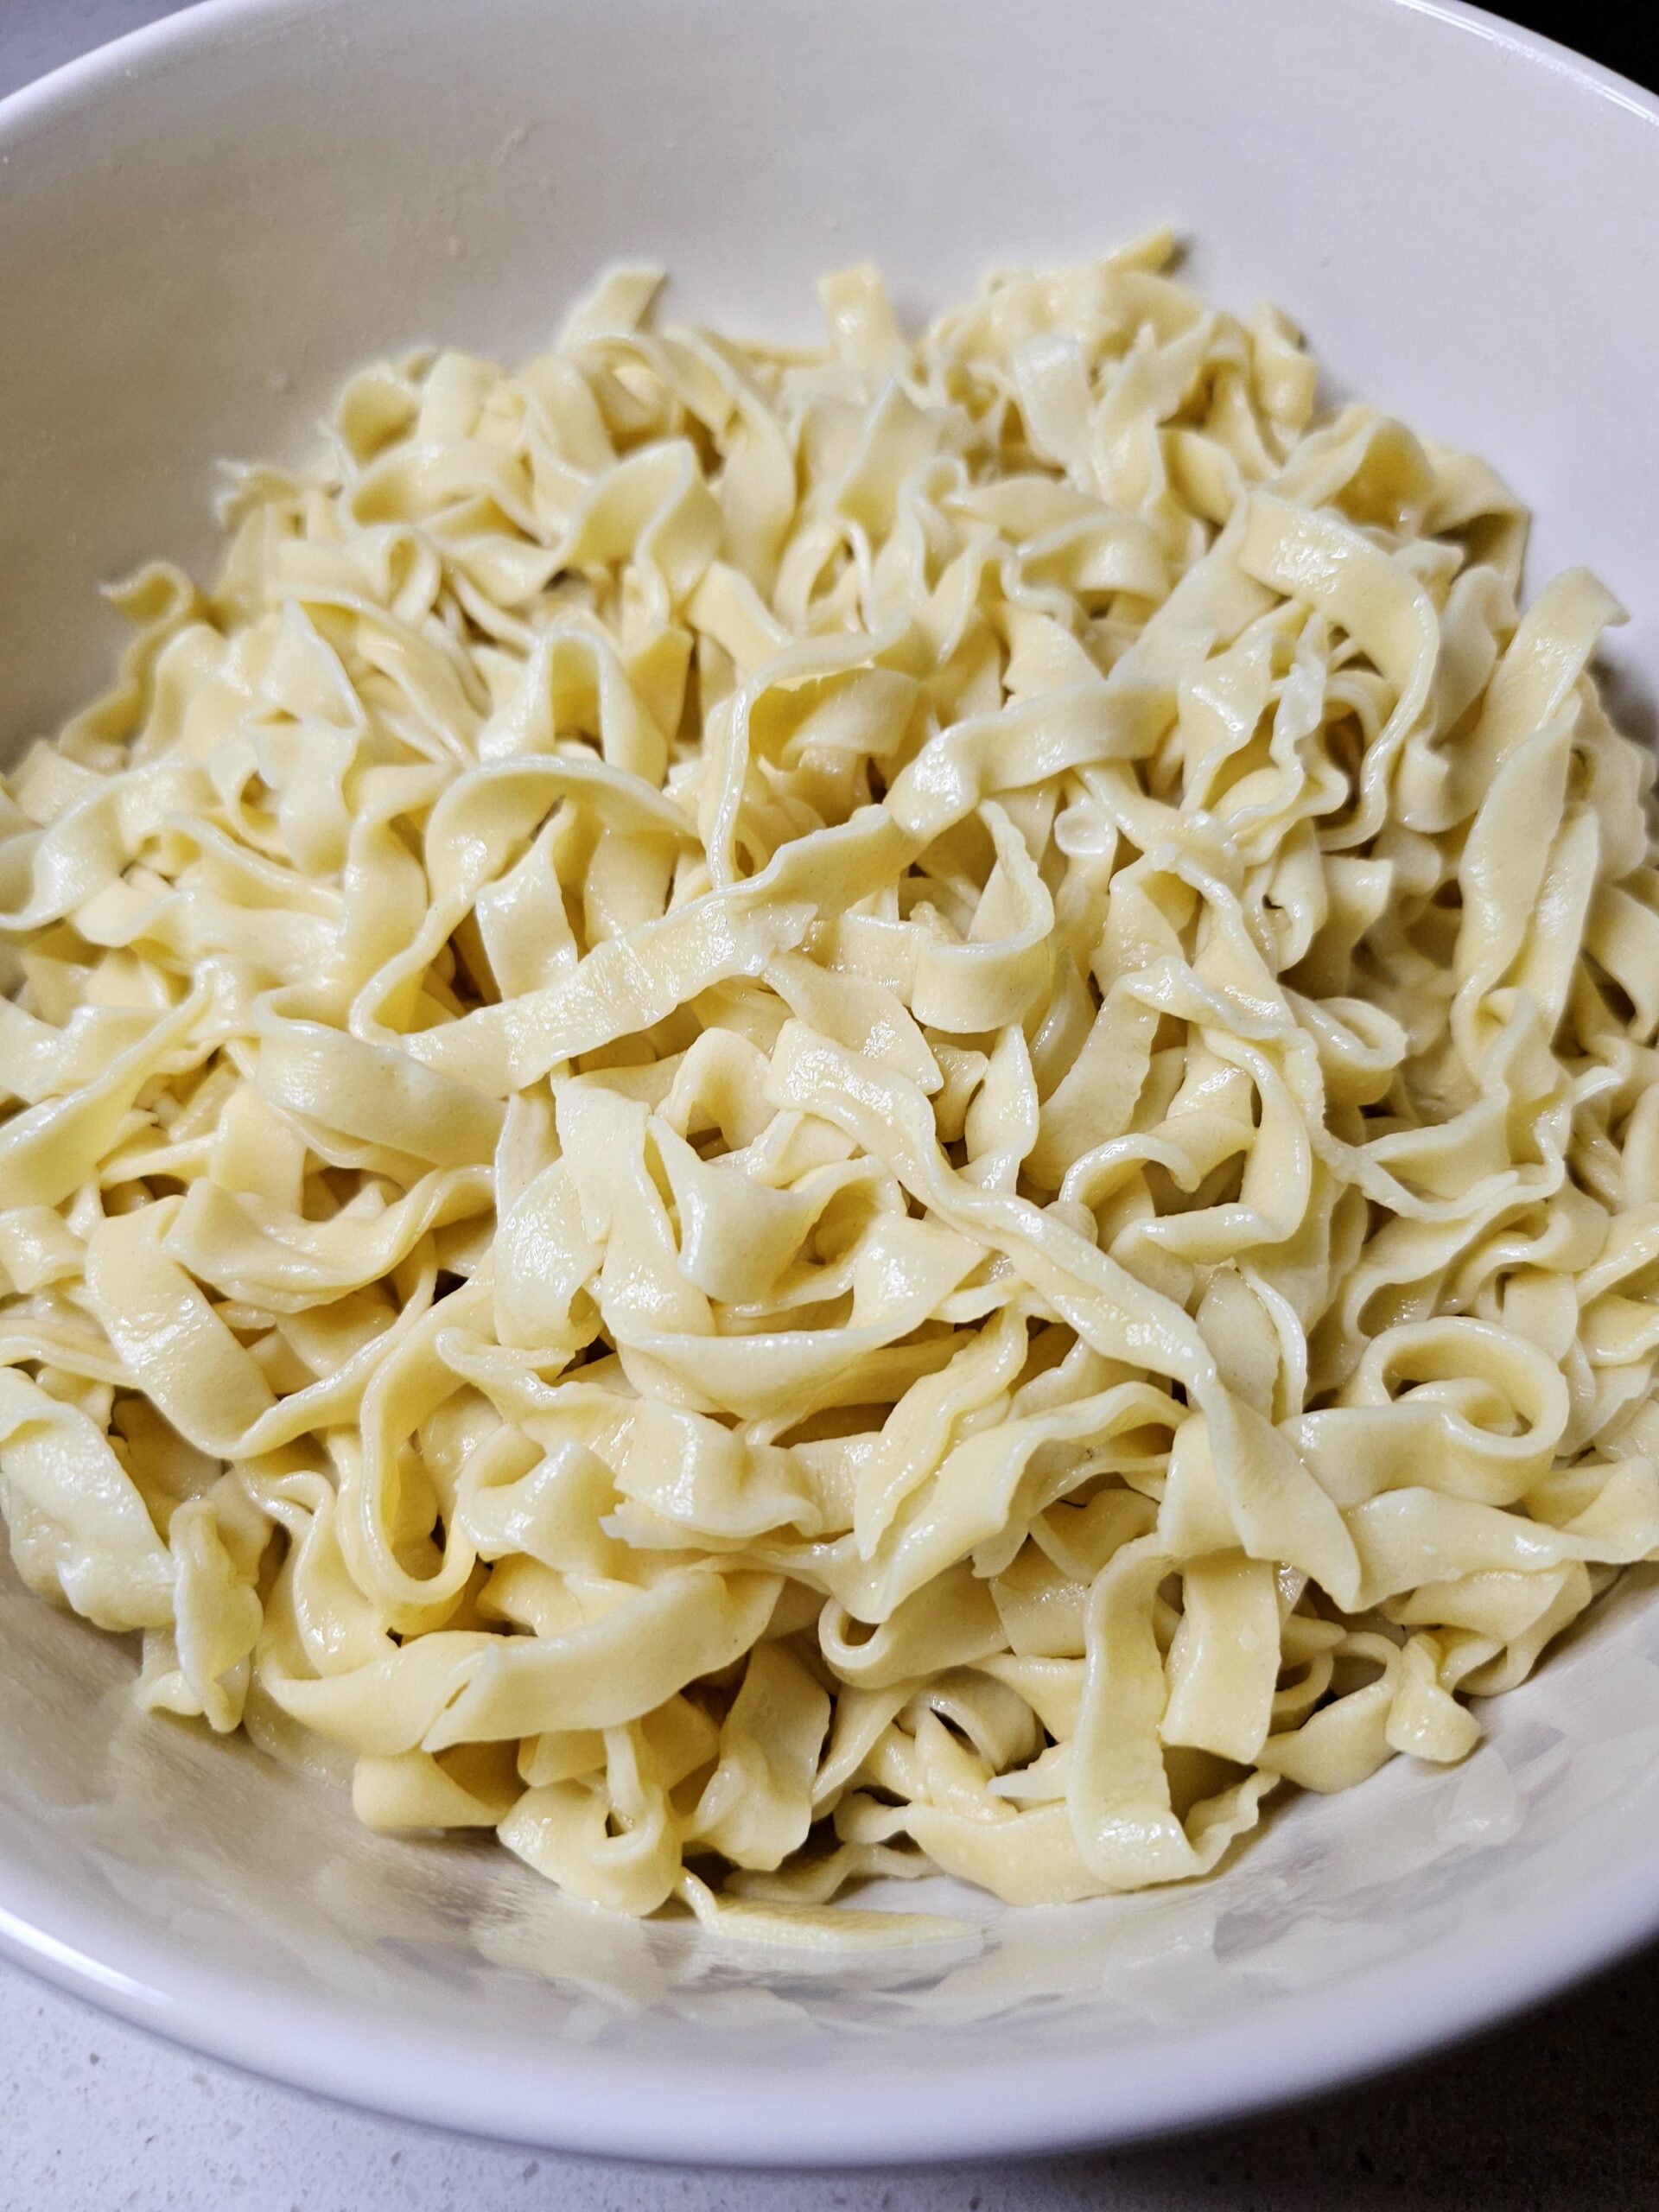
Homemade Fresh Pasta
Equipment
- 1 KitchenAid Mixer
- 1 KitchenAid Pasta Attachment
- 1 Baking Sheet
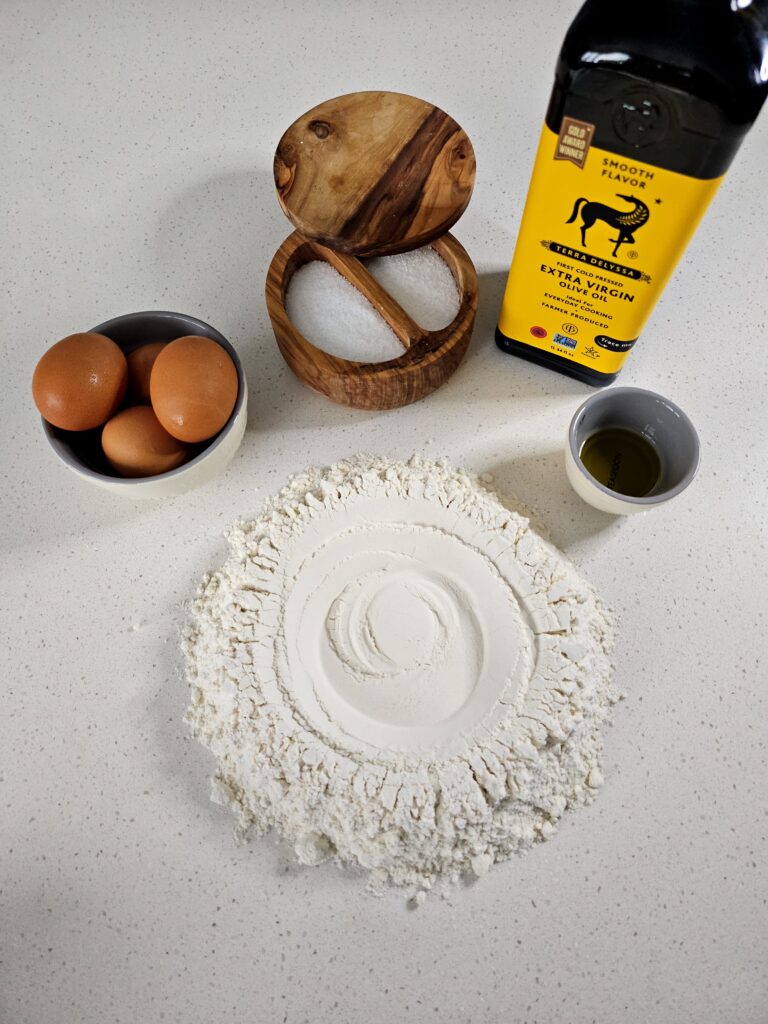
Ingredients
- 2 cups all-purpose flour spooned and leveled
- 3 large eggs
- 1 teaspoon fine salt
- 1 ½ teaspoons extra-virgin olive oil
- water as needed
Instructions
- Combine the flour and salt onto a clean work surface and make a well in the center. To the well, add the eggs and olive oil.2 cups all-purpose flour, 3 large eggs, 1 teaspoon fine salt, 1 ½ teaspoons extra-virgin olive oil
- Use a fork to gently beat the eggs, incorporating slightly more and more flour over time but keeping the flour walls intact as best you can. Once the flour walls collapse, use your hands to gently bring the dough together into a shaggy ball.
- Knead the dough for 8-10 minutes. It will feel very dry at first but you should notice it coming together and smoothing out as you continue to knead. If your dough remains dry and doesn’t come together, add water a teaspoon at a time. If your dough is too sticky, sprinkle a little flour onto your work surface as you knead.water
- Shape the dough into a ball, wrap in plastic wrap, and let rest at room temperature for 30 minutes to 1 hour.
- Dust 2 large baking sheets with flour and set aside.
- Cut the dough into four equal pieces. Gently flatten one piece into an oval and place the remaining pieces under a kitchen towel so they don’t dry out.
- Run the first piece through your pasta attachment or pasta maker 3 times at its widest setting (level 1 on the KitchenAid attachment). Fold the dough into thirds and run it through the pasta roller three times at level 2, three times at level 3, two times at level 4, and one time each at levels 5 and 6.
- Lay the pasta sheet on one of your prepared baking sheets, folding it in half or thirds as needed, and dusting each layer with flour before folding. You want to make sure every side of the sheet is floured so it doesn’t stick. Cover with a kitchen towel.
- Repeat steps 7 & 8 for the remaining 3 dough pieces.
- Run each pasta sheet through the Pasta Cutter Attachment. I usually need to cut my sheets in half before cutting them so the pasta isn’t too long. As the sheet runs through the cutter, catch the cut pasta in your palms as you slowly move them in a circle, creating a “nest” of pasta. Place each nest on your other prepared baking sheet, lightly sprinkle with flour, and cover with a kitchen towel. Repeat for every pasta sheet.
- Cook the pasta in a pot of salted boiling water for 1 to 2 minutes and enjoy!